LED Screen Control Systems: The Complete Beginner’s Guide to Perfect Visuals
Published: 29 Apr 2025
LED Screen Control Systems: The Mastermind Behind Every Great Display
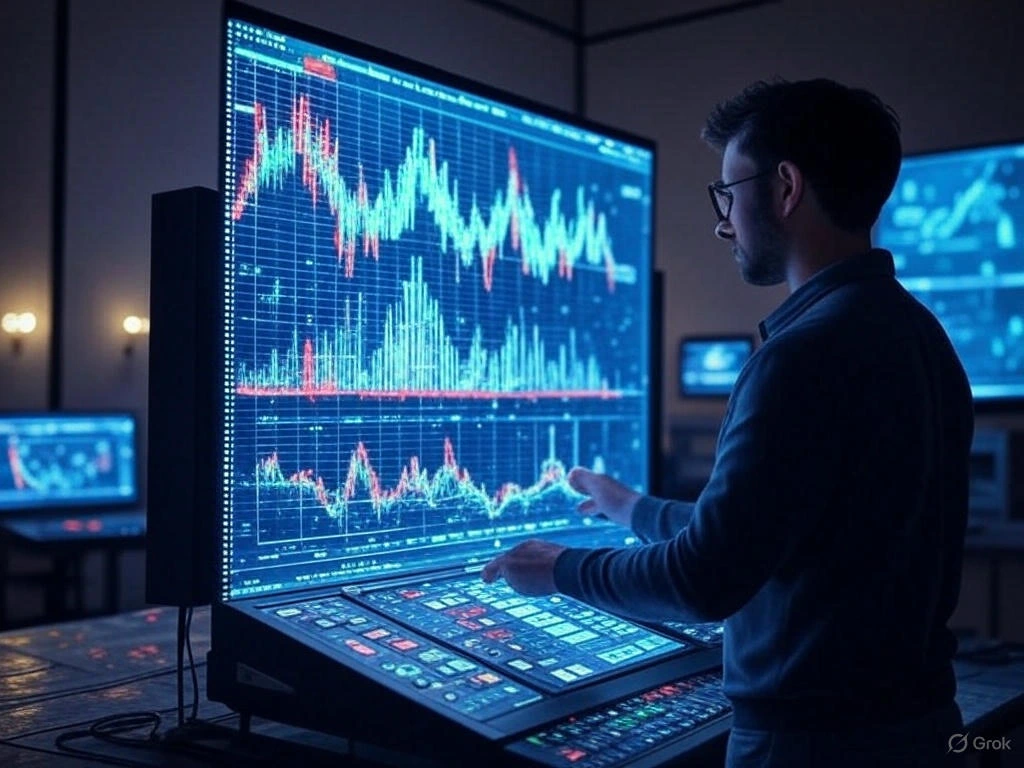
Think of your LED screen as a talented musical band. Each musician (or LED) is skilled, but without a conductor to guide them, the performance would be messy and uncoordinated. The LED screen control system acts as that conductor, ensuring every part of the display works together in perfect harmony. While the screen itself provides the visual output, the control system is the intelligence that brings it to life, making it far more sophisticated than a standard television setup.
The Ultimate Guide to LED Screen Control Systems
LED Screen Control Systems power everything from digital billboards to concert stages.Mastering LED Screen Control Systems , But behind their brilliance lies a complex network of control systems that manage performance, connectivity, and durability. Whether you’re a technician, installer, or enthusiast, this guide dives deep into:To read more click at The Complete Guide to LED Screen Installation: Modular Panels, Mounting Structures & Safety Protocols ect.
- Repair techniques for common and complex issues.
- Troubleshooting workflows to diagnose problems fast.
- Longevity enhancement strategies to maximize screen lifespan.
- Innovations in control system design and manufacturing.
Understanding the Role of LED Screen Control Systems
An LED screen contains thousands of tiny lights that need precise instructions to create clear images. The control system serves as the brain that manages these lights, telling each one when to turn on, what color to display, and how bright to shine. This system takes video signals from sources like computers or media players and translates them into commands the screen can understand. Without a reliable control system, you might experience problems like color inconsistencies, image flickering, or complete display failure. It’s the crucial component that ensures smooth operation and stunning visual quality.
Key benefits include:
- Consistent Performance: Maintains uniform brightness and color across the entire display
- Flexible Content Management: Allows easy adjustments and scheduling of displayed content
- Reliable Operation: Prevents technical issues during important presentations or events
- Adaptive Functionality: Supports various input sources and display configurations
Core Components of Control Systems
LED Screen Control Systems consist of several key components that work together to deliver perfect visuals. The sending device processes incoming signals and prepares them for display. Receiver cards distributed throughout the screen interpret these signals and direct individual LEDs. Cabinet controllers manage groups of modules while power systems ensure stable operation. Cooling components prevent overheating during extended use periods.
Essential elements include:
- Video processors – Handle signal conversion and optimization for display compatibility
- Controller cards – Manage pixel-level control and color calibration
- Power supplies – Provide stable electricity distribution to all components
- Cooling systems – Maintain optimal operating temperatures
- Connection interfaces – Enable communication between system parts
Content Management Solutions
Modern content management systems provide sophisticated control over what appears on your LED display. These systems allow scheduling of content based on time, date, or specific triggers. Multi-zone support enables different content in various screen sections simultaneously. Cloud-based platforms offer remote access from anywhere with internet connectivity while maintaining security through proper authentication methods.
Advanced Scheduling Capabilities
Professional scheduling systems transform basic content management into intelligent automation. Time-based triggers automatically change content at predetermined intervals while calendar integration manages long-term scheduling requirements. Conditional logic enables smart content selection based on external factors like weather or audience demographics. Emergency override capabilities ensure important messages can interrupt regular programming when necessary.
Advanced features include:
- Automated daily schedules – Pre-programmed content changes throughout the day
- Seasonal programming – Automatic content adjustments for holidays and seasons
- Event-based triggers – Content changes triggered by specific events or dates
- Content rotation systems – Automated cycling through multiple content pieces
- Priority messaging – Important announcements that override regular content
- Manual override options – Instant manual control when needed
- Multi-language support – Content management in multiple languages
- Template systems – Pre-designed layouts for quick content creation
- Recurring event management – Regular programming for weekly/monthly events
- Content expiration dates – Automatic removal of outdated content
- Real-time updates – Instant content changes from remote locations
- Backup scheduling – Redundant systems for critical content
- User permission levels – Different access levels for team members
- Activity logging – Complete record of all system changes
Pro Tip: Always maintain redundant scheduling systems and test emergency override procedures monthly to ensure reliable operation during critical situations.
Video Processing Technology
Video processing technology forms the heart of any quality control system, handling signal conversion and optimization. These systems accept various input formats and convert them to match your display’s native resolution. Real-time image enhancement improves picture quality while color management ensures consistent reproduction. Advanced scaling algorithms maintain aspect ratios and prevent distortion during size adjustments.
Real-Time Image Enhancement
Sophisticated image processing algorithms continuously analyze and improve video quality during playback. Noise reduction systems remove digital artifacts from compressed video sources while detail enhancement sharpens blurred images. Color correction algorithms maintain accurate reproduction across different lighting conditions. Dynamic contrast adjustment optimizes brightness levels based on content characteristics and viewing environment.
Enhancement features include:
- Automatic color calibration – Maintains consistent colors across entire display
- Dynamic contrast adjustment – Optimizes contrast based on content and environment
- Noise reduction algorithms – Removes digital artifacts and grain from video
- Edge enhancement – Sharpens text and fine details for better readability
- Scaling technology – Adjusts resolution to match display capabilities
- Frame rate conversion – Ensures smooth motion without stuttering
- Color space conversion – Maintains accurate color across different sources
- HDR processing – Enhances dynamic range for better contrast
- De-interlacing – Improves quality of older video sources
- Mosquito noise reduction – Removes compression artifacts around edges
- Blocking artifact reduction – Smooths blocky compression artifacts
- Auto brightness adjustment – Adapts to ambient light conditions
- Gamma correction – Maintains proper tonal relationships
- Sharpness control – Enhances image clarity without artifacts
Hardware Components
The physical components of LED Screen Control Systems provide the foundation for reliable operation. Sending devices process incoming signals while receiver cards distribute commands to individual LEDs. Power systems ensure stable electricity supply and cooling components prevent overheating. Connection interfaces enable communication between different system parts while status indicators provide operational feedback.
Controller Card Functionality
Controller cards serve as the nervous system of your LED display, managing communication between processing units and individual LEDs. Primary cards receive processed signals and distribute them to secondary cards throughout the display. These secondary cards convert digital commands into electrical signals that control individual pixels. Modern cards feature onboard memory for storing configurations and status indicators for operational monitoring.
Controller functions include:
- Signal reception – Receives processed signals from video processors
- Data distribution – Distributes signals to appropriate display sections
- Pixel mapping – Ensures accurate pixel placement and alignment
- Color depth management – Maintains smooth color gradients and transitions
- Refresh rate control – Ensures stable, flicker-free images
- Brightness regulation – Maintains consistent brightness across display
- Temperature monitoring – Protects components from overheating damage
- Error detection – Identifies and reports system faults automatically
- Redundancy management – Handles failover to backup systems
- Configuration storage – Stores display settings and preferences
- Status reporting – Provides real-time operational status updates
- Calibration data – Stores color calibration and correction data
- Power management – Optimizes power usage and efficiency
- Diagnostic capabilities – Runs system tests and troubleshooting
Installation Best Practices
Proper installation ensures optimal performance and longevity of control systems. Cable management requires careful planning to prevent signal interference. Environmental factors must be considered when choosing installation locations. System configuration should address specific requirements while documentation ensures easier future maintenance.
Cable Management Strategies
Effective cable management begins with thorough planning before installation starts. Quality cables appropriate for distance and environment ensure reliable signal transmission. Clear labeling systems simplify identification while proper separation between power and data cables prevents interference. Adequate supports and conduits protect wiring from physical damage while documentation provides reference for future maintenance.
Management techniques include:
- Proper cable selection – Choosing right cable type for specific signal requirements
- Comprehensive labeling – Clear identification of all cables and connections
- Adequate separation – Maintaining distance between power and data cables
- Quality support systems – Proper mounting and support for cable runs
- Protective conduits – Using conduits for physical protection and organization
- Detailed documentation – Complete records of all cable installations
- Service loops – Extra cable length for maintenance and adjustments
- Strain relief – Proper strain relief on all connections and terminations
- Proper grounding – Correct grounding for safety and signal integrity
- Testing protocols – Comprehensive testing of all installed cables
- Color coding – Using color codes for easy identification and troubleshooting
- Length optimization – Using appropriate cable lengths to avoid signal loss
- Connection sequencing – Proper order for making and verifying connections
- Regular inspection – Scheduled inspections of all cable installations
Maintenance Procedures
Regular maintenance ensures long-term reliability and performance of LED Screen Control Systems. Scheduled inspections help identify potential issues before they affect operation. Cleaning maintains connection integrity while firmware updates provide access to new features. System backups preserve configurations for quick recovery while monitoring tools offer early warning of developing issues.
Troubleshooting Techniques
Systematic troubleshooting resolves most common control system issues effectively. Connection problems often stem from loose cables requiring inspection and reseating. Image quality issues may result from incorrect settings needing adjustment. Synchronization errors frequently respond to recalibration while power issues require distribution system examination.
Troubleshooting methods include:
- Connection verification – Checking all physical connections for proper seating
- Setting validation – Verifying all system settings and configurations
- Synchronization checking – Ensuring proper timing and synchronization
- Power testing – Testing power supply and distribution systems
- Software validation – Checking software integrity and version compatibility
- Component testing – Testing individual components and modules
- Signal tracing – Following signal path to identify interruptions
- Temperature monitoring – Checking operating temperatures of components
- Voltage measurement – Measuring voltages at various test points
- Firmware verification – Checking firmware versions and updates
- Backup restoration – Restoring from backup configurations when needed
- Log analysis – Reviewing system logs for error messages and warnings
- Component replacement – Replacing faulty components and modules
- System reset – Performing system resets and reinitialization
Future Technology Trends
LED Screen Control Systems technology continues evolving with new innovations enhancing capabilities. Artificial intelligence enables smarter content optimization and predictive maintenance. Enhanced connectivity supports complex system integrations while improved processing facilitates higher resolutions. Energy efficiency improvements reduce operational costs while standardization promotes better compatibility.
Emerging Technology Integration
New technologies are constantly integrating into LED Screen Control Systems, expanding capabilities and applications. IoT connectivity enables interaction with smart devices and environmental sensors. Cloud computing provides processing capabilities without local hardware requirements. Machine learning optimizes content presentation based on analytics while advanced sensors enable automatic adjustments.
Integration aspects include:
- IoT connectivity – Connecting to Internet of Things devices and sensors
- Cloud computing – Utilizing cloud-based processing and storage
- Machine learning – Implementing AI-driven optimization and prediction
- Sensor integration – Incorporating environmental and usage sensors
- 5G connectivity – Leveraging high-speed 5G network capabilities
- Edge computing – Processing data closer to the display source
- API integration – Connecting with other systems through APIs
- Mobile integration – Integrating with mobile devices and applications
- Automation systems – Connecting with building automation systems
- Analytics integration – Incorporating usage analytics and reporting
- Security enhancements – Implementing advanced security features
- Energy management – Integrating with energy management systems
- Modular design – Supporting modular expansion and upgrades
- Standardization – Adopting industry standards for compatibility
Conclusion: Mastering Control Systems
Understanding LED screen control systems empowers users to maximize their display investments and achieve outstanding visual results. These systems provide the intelligence that transforms basic LED arrays into sophisticated communication tools, offering precision control and flexibility unmatched by simpler technologies. From content management to advanced processing, each component plays a vital role in delivering reliable performance and impressive visual quality. As technology continues advancing, control systems will offer even greater capabilities while becoming more accessible to users of all technical levels.
FAQs on LED Screen Control Systems
Regular updates every 6-12 months ensure you have the latest features and security patches. Always back up your configurations before updating. Check with your manufacturer for update recommendations specific to your system.
Yes, most modern systems support multiple display control through centralized management interfaces. You can manage different content across various displays simultaneously. The number of supported displays depends on your specific hardware capabilities.
Wired systems typically offer more reliable and secure connections for permanent installations. Wireless systems provide flexibility for temporary setups or difficult cable routing situations. Many professional installations use a combination of both approaches.
Quality components typically last 5-7 years with proper maintenance. Environmental factors and usage patterns affect lifespan. Regular cleaning and proper ventilation help extend component longevity.
Integration possibilities depend on compatibility between old and new equipment. Many modern systems offer adapters for legacy equipment. Consult with technical specialists to assess your specific integration options.
Basic operations can be learned quickly through manufacturer training materials. Advanced features may require more comprehensive training sessions. Many suppliers offer both online and in-person training options.
Consider your display size, content requirements, and technical expertise level. Evaluate different systems’ feature sets against your specific use cases. Consult with professional integrators for personalized recommendations.
Maintain backup content storage and configuration files. Consider redundant power supplies for critical applications. Emergency override systems can maintain basic operation during main system failures.
Outdoor systems require weatherproof enclosures and components. Temperature fluctuations can affect system performance and longevity. Specialized outdoor-rated equipment provides better durability in harsh conditions.
Use strong passwords and network security protocols. Regular software updates address security vulnerabilities. Physical access controls prevent unauthorized system changes.

Your LED Screen is Begging for This: 7 Inside Tips We Use Every Day for LED screen maintenance


- Be Respectful
- Stay Relevant
- Stay Positive
- True Feedback
- Encourage Discussion
- Avoid Spamming
- No Fake News
- Don't Copy-Paste
- No Personal Attacks
- Be Respectful
- Stay Relevant
- Stay Positive
- True Feedback
- Encourage Discussion
- Avoid Spamming
- No Fake News
- Don't Copy-Paste
- No Personal Attacks
